HOW-TO: Carve Tombstones from Insulation Foam Board
Here is my own how-to of tombstone carving from sheets of insulation foam board. It is basically the same as Keeba's method (Thanks Keeba!) with my own little twists to it. For example here in Sacramento I can't find any blue foam (pink foam only in damaged 2x8 sheets), so I have to do with the 'inferior' white foam.
- Tools I Use:
- 4'x8'x2" sheet of insulation foam
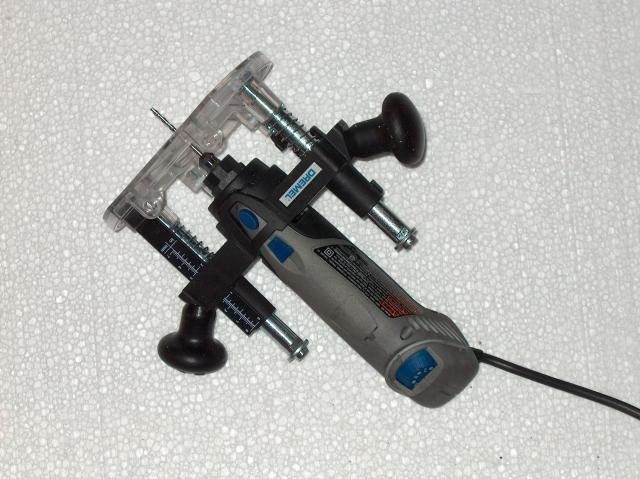
- Dremel like rotary tool with router attachment (see picture)
- Utility knife of snap-off blade type (blade length matters :)
- Various routing bits for use with rotary tool
- Computer with printer and paper
- Graph Paper (for layout purposes)
- Carbon paper
- Ball Point Pen
- Scotch Tape
- Bamboo Plant Stakes (find these in the garden section)
- Flat Latex Paint (lighter 'Oops!' colors and some black)
- Some Paint Brushes
- Wood Putty (to patch up work)
- Optional tools:
- Hot Wire Cutter
- X-acto Hobby Knife
Here a picture of my Dremel 'XPR 400' mounted in the plunge router attachment (Dremel '335'). The bit currently mounted, is actually a cutting bit (Dremel 561) that came with the multi purpose cutting kit (Dremel '565'). It works quite well for making deep sleek trenches in the foam. Check my Celtic cross pictures below to see what this bit can do for you. Using the plunge router or multi purpose cutting kit attachments will ensure that the groove depth is the same everywhere which will give a much nicer look. My first stones were done without these and it took a lot more effort to carve any letters, lines and patterns. So I highly recommend investing in one of these attachments.
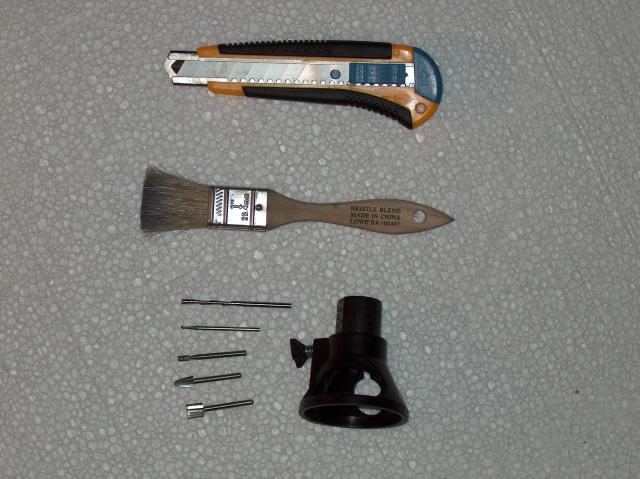
My snap-off blade type utility knife, a paint brush and various routing bits. The top bit is the Dremel '561', a multi purpose cutting bit. The four remaining bits (from top to bottom) are all high speed cutter bits: Dremel '100', '194', '117', and '115'. To the right is the routing attachment from Dremel kit '565'. The '561' is currently my favorite with the '194' as a good second.
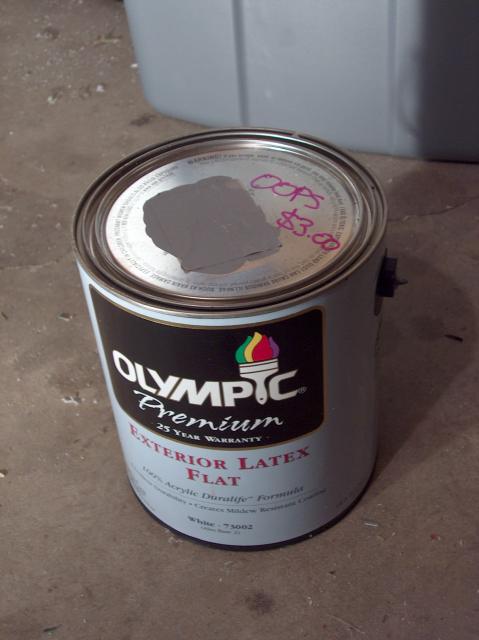
OOPS! Someone needed some flat grey latex but not this shade. I was more than happy to help Lowe's get rid of it for 3 bucks.
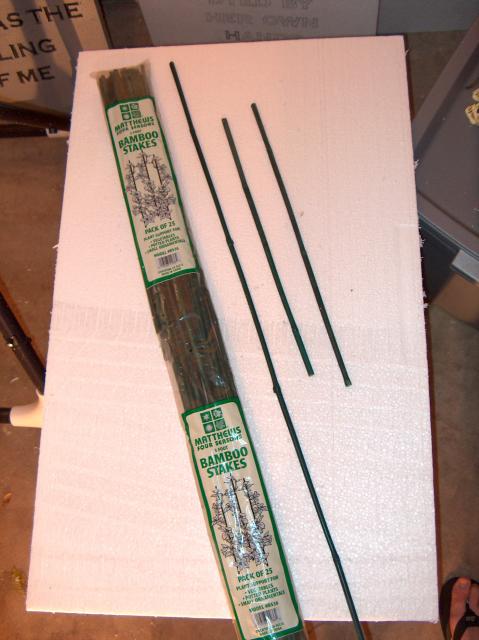
Here a pack of bamboo stakes from Lowe's garden section. I cut them in half so this pack has enough stakes for 25 tombstones:more than enough for the average yard haunter.
Now that we have seen our tools, we can start. We start by sketching the layout of the tombstones to scale on graph paper. This way you can maximize the amount of tombstones we can carve out of a single sheet of foam. It also helps to visualize the tombstones you are about to carve. The below three layouts are layouts I found on the net. The first one is the one I used for carving my tombstone forms.

(Source: unknown. If this is yours, please contact me and I will give credit)
")
(Source: hauntedyards.com)
")
(Source: hauntedyards.com)
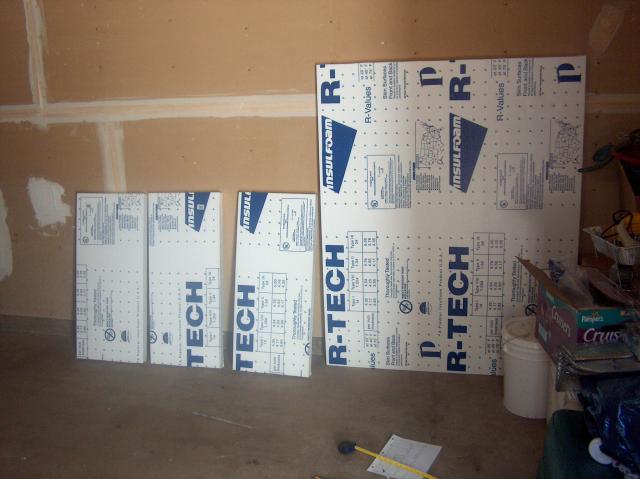
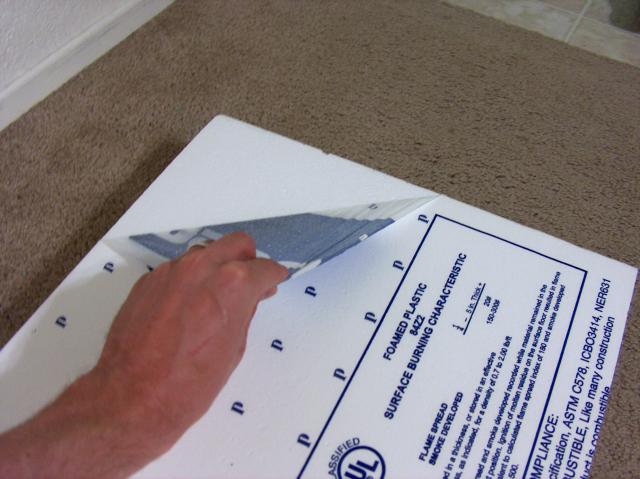
Here you see the 2 inch thick, 4 foot x 8 foot sheet of insulation foam after I cut the first three raw forms out of it (forms A, B and C). I marked the lines with a ball point pen and carefully cut them using the utility knife withthe blade fully (!) extended. I still had to cut three times to fully cut through the 2 inch sheet. Optional would be using a hot wire cutter instead of the utility knife.
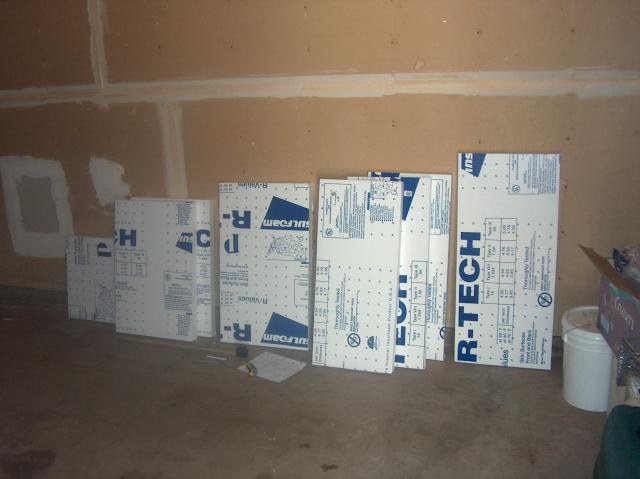
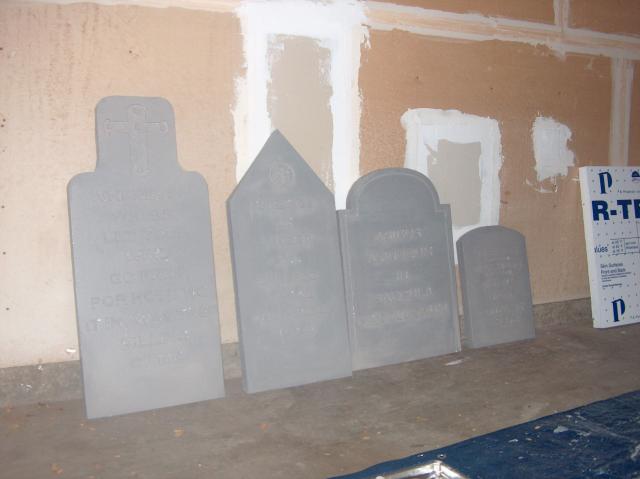
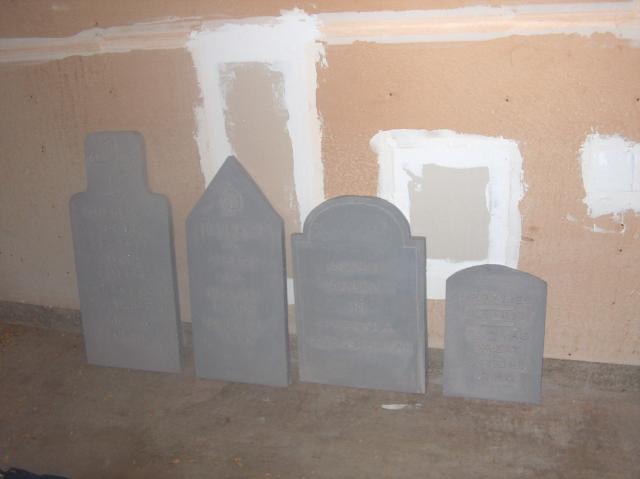
All raw forms have been carved here. This took me just a few minutes to do.
Before continuing, we should carefully remove the thin plastic foil layer from one side of the foam. The other side I usually leave on as a protective layer while carving the tombstone. Ofcourse I will remove this before I start painting.
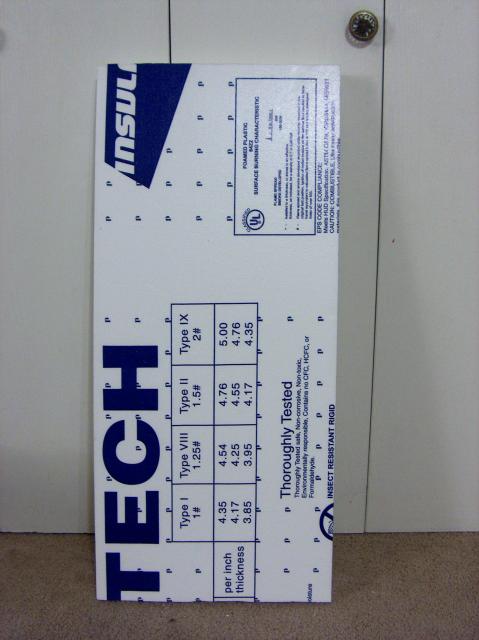
A raw tombstone with the plastic foil layer intact:
Carefully start peeling the plastic from the corner:
Almost there...
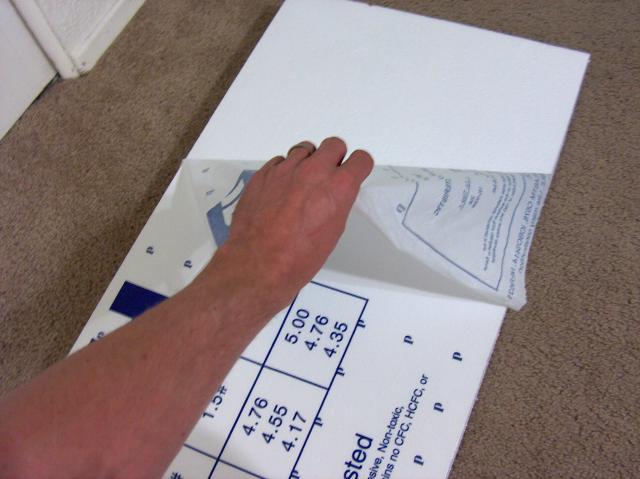
No more plastic on this side of the tombstone:

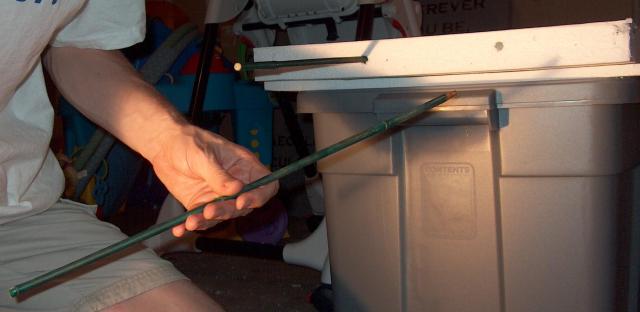
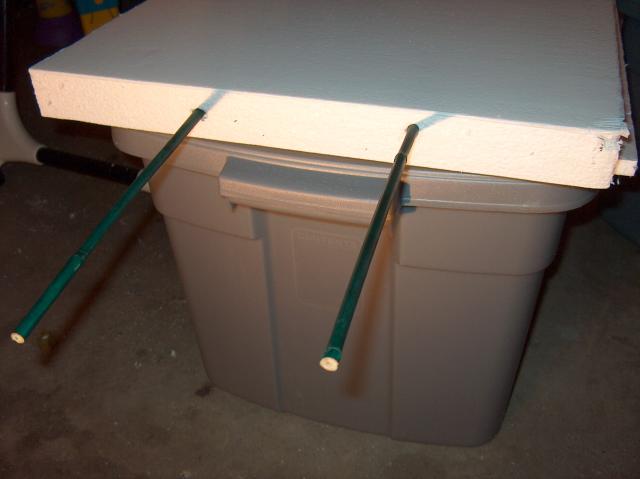
Now is also a good time to punch two holes in the bottom of the tombstone so you can fit bamboo stakes in them. The bamboo stakes are a more cost effective way of keeping your tombstones from falling over or even worse: flying away. If you'd wait till the end when the tombstone is completely finished and you mess up one of the holes (crooked and hence coming out through some letters or the front of the tombstone) you can take this into account when finishing up your tombstone instead of having to patch it up afterwards. It is no fun to see your masterpiece go bad and needing major repair and repainting.
I used the knife to sharpen the end of the stake so it is somewhat easier to insert. While inserting, slowly twist the stake a bit helping it 'drill' into the foam.
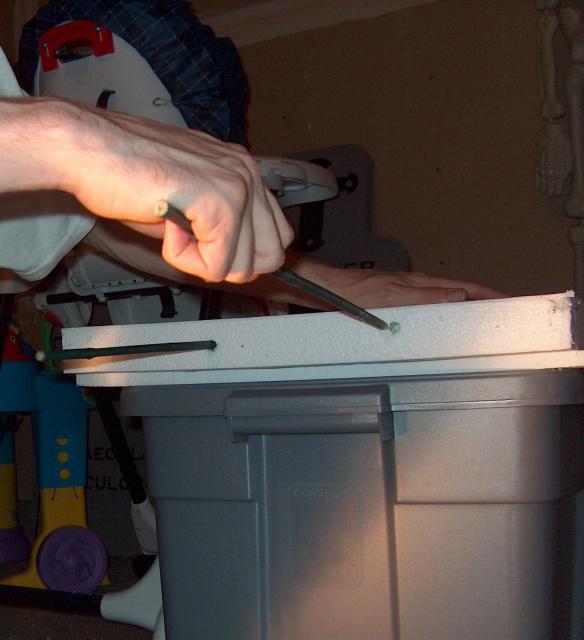
Two stakes, ready to fasten the tombstone to the ground:
Finally, time to print out your favorite epitaph on pieces of paper using any large font you like. I use a font called 'Copperplate Gothic', in any size around '120' points and make it 'bold'. Put your paper in 'landscape' orientation. To make things easy to cut out and position your text on a tombstone, I put a box outline around every single line that spans the full length of the page.
Once each line of text has been printed and cut out, we position the individual lines on the tombstone. Fasten each line to the foam utilizing two pieces of scotch tape on the sides of the paper.
It should be easy to slide a piece of carbon paper underneat each line of text so you can trace the outline using a ball point pen. Make sure you press hard enough but not too hard so as to not damage the foam beads. Damaging the foam beads is especially true when forced to use the white foam. A damaged foam bead will more easil;y come off during the routing process causing the need for patching afterwards. Blue and pink foam does not really have this problem.
Some people skip the entire carbon paper and retrace steps. They attach the print out on the foam and carve straight through the paper. I have not yet tried this myself. I think depending on how you attach the paper, it might cause problems while carving. If the paper lets go during carving it can be hard to reattach it to the proper place. I should try it on a test piece someday: as it could save a lot of time.
Then you have another class of people: the truly artistic ones that can carve all their text freehand: no need for computers, printers, carbon paper, retracing etc... It all depends on how confident you are, what type of look and feel you are after for your tombstones and ofcourse, how experienced you are.
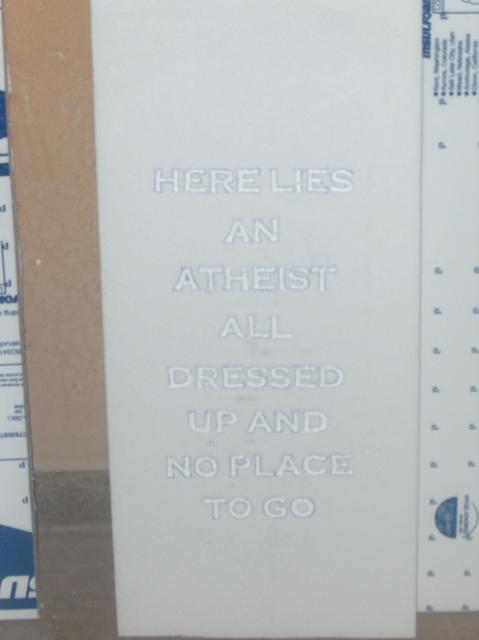
The result of using the Dremel with router attachment on a tombstone.
Painting time! Pore some of your 'Oops' paint in a container and mix in black to create your favorite shade of grey paint. For those who don't know what 'Oops!' paint is: it is a can of paint that was incorrectly mixed and couldn't be sold. Usually they have a little stash of it somewhere around the paint department of your favorite home improvement store. You can find any size and color there for really nice low prices. Usually the lighter the shade, the easier it will be for you to make it into your own color. For whatever reason I end up with grey and brown shades a lot :)
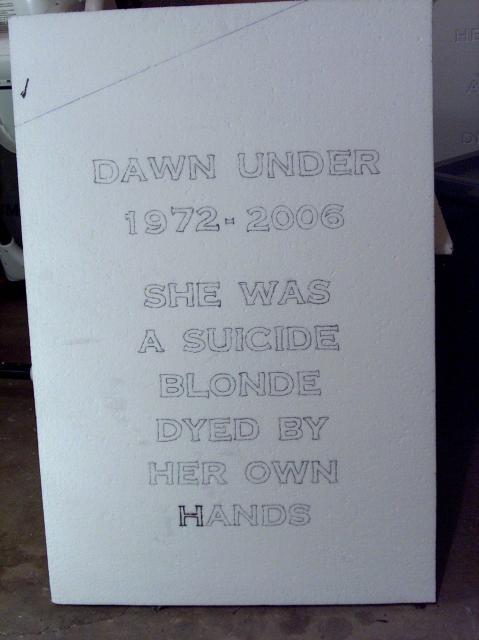
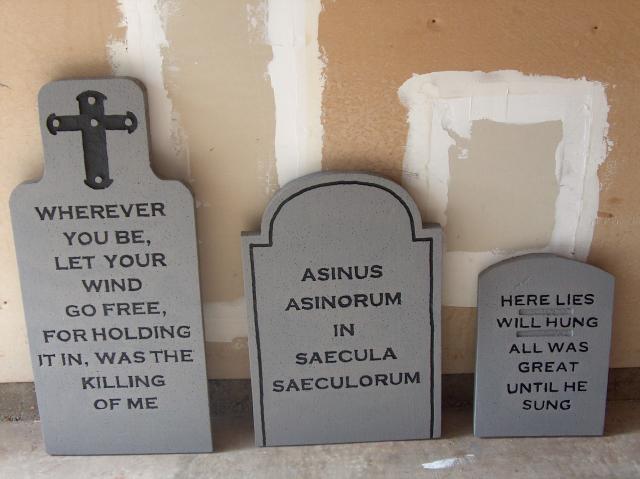
My first try was to use just one shade of grey. Since the carvings aren't that deep, the shadows didn't turn out too different of a grey shade...
... So I decided to use some straight flat black latex on the carved out sections to force contrast. Perhaps a darker shade of grey would have been sufficient. Play around I'd say, and see what you like best. Oh yeah, I did the black very rough and then touched up all the black that spilled onto the non carved out sections with a final coat of grey.
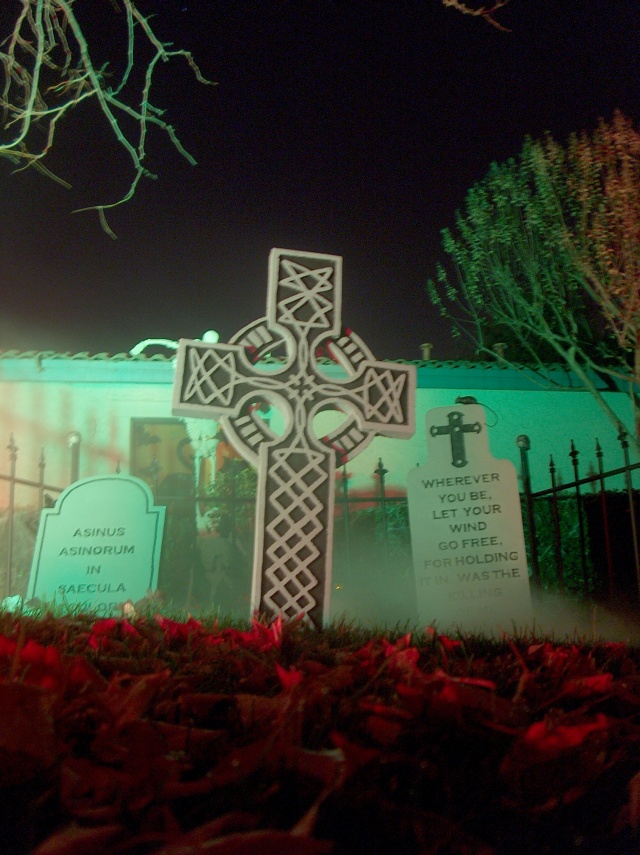
My latest project I am working on. A Celtic cross type design:
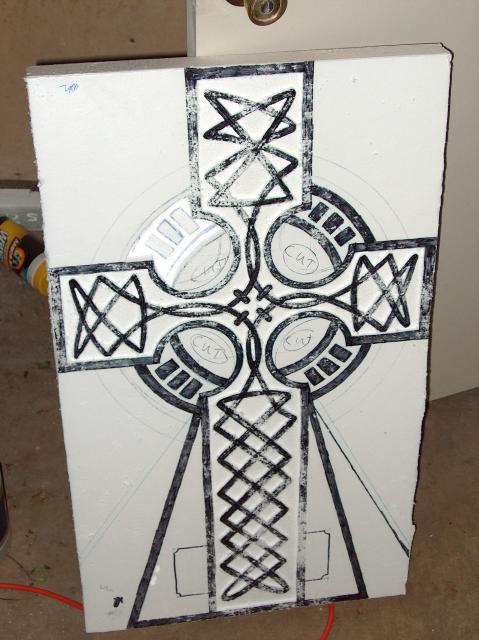
I started out with a rectangualr sheet of 2 inch thick insulationfoam. Before removing the plastic sheet I used a Sharpie to setup the initial cross design and to free form the pattern.

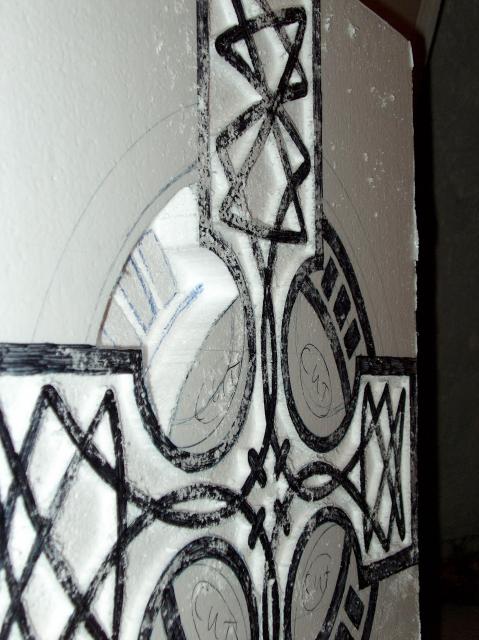
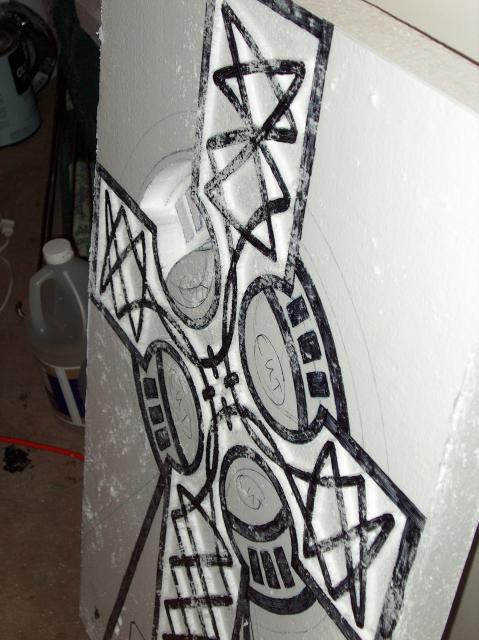
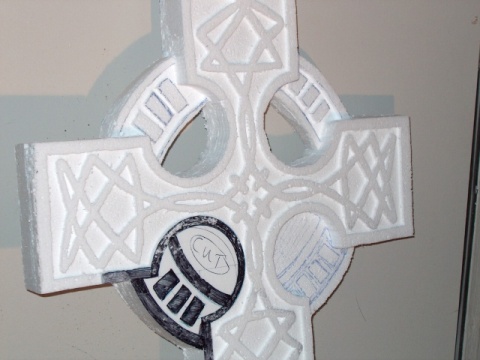
The circle was going to be lower in relief, than the rest of the cross. Here you can see one quarter of the circle being routed out. I used the Dremel 561 multi purpose cutting bit and the router atachment at two different depths. The two different depths in the circle can clearly be see here.
The pattern in the base of the stone has been carved. This was mostly done with Dremel bit 115 (large areas) and 100 (nooks and detail work).
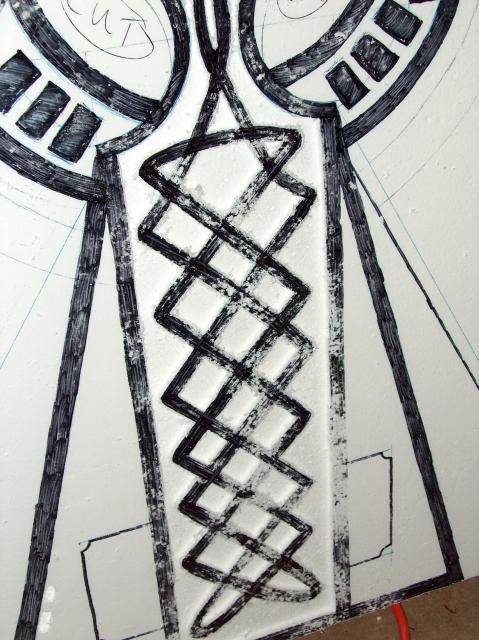
The base again at a slightly different angle.
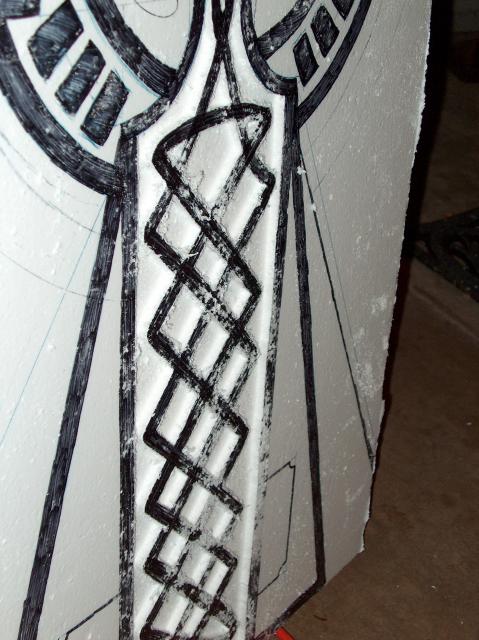
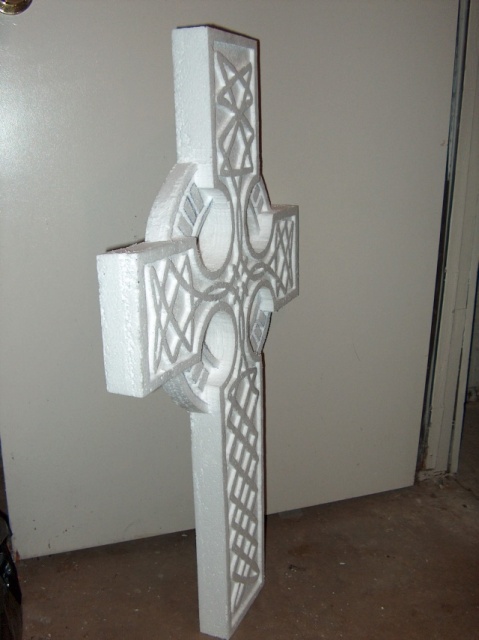
The rest of the main pattern has been routed.
The main shape has been cut out of the rectangular piece of foam. Most of the plastic protective sheeting has been removed as well.
Closeup of the circle. Half of the circle has been routed.
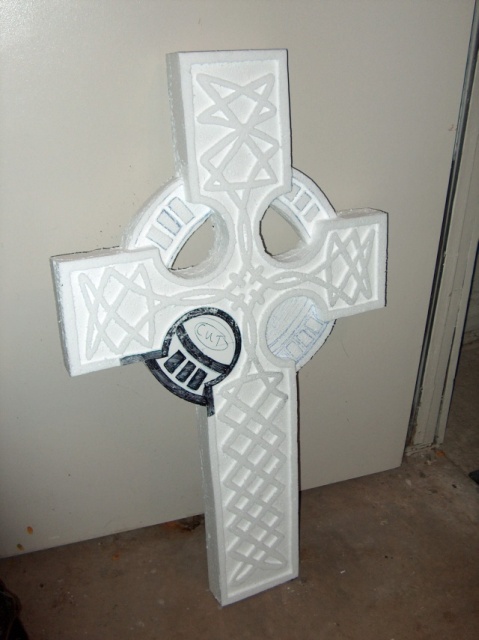
Finished routing of the entire Celtic cross.
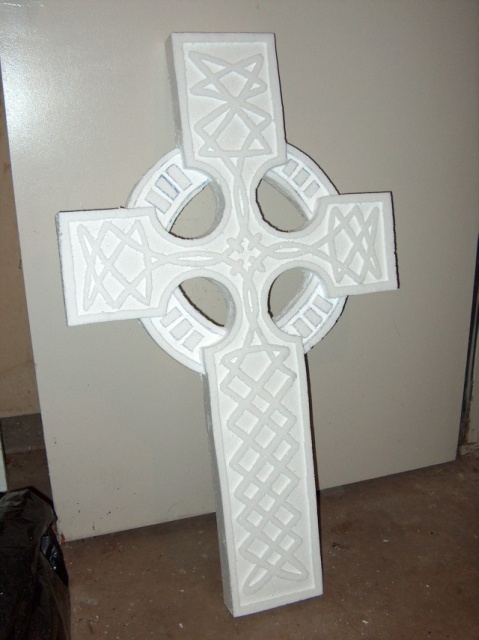
A shot at an angle to show off the relief of the finished stone.
As shown in the actual yard display (2007)